There’s nothing quite as comforting as a warm, freshly baked cobbler. Whether it’s peach, blueberry, or a mix of seasonal fruits, a cobbler is a delightful treat that combines the best of sweet fruit and a buttery, golden topping. However, if you’ve ever found yourself wondering, how to tell if cobbler is done, you’re not alone. Baking the perfect cobbler can feel like a fine art, especially when you want to avoid the disappointment of an undercooked or overbaked dessert.
In this article, we’ll explore foolproof ways to master the cobbler doneness test. From spotting visual clues to using texture and temperature checks, we’ll guide you step-by-step to ensure your cobbler is cooked to perfection. Plus, we’ll uncover common mistakes bakers make and how to avoid them. Get ready to level up your baking skills and impress your family and friends with a cobbler that’s just right!
Table of Contents
Visual Clues: How to Check If Cobbler Is Cooked Just Right
Ah, the heavenly aroma of a cobbler baking in the oven! It’s hard not to peek through the oven door, eagerly anticipating that first golden, bubbly bite. But how do you know when your cobbler has reached perfection? Mastering the art of visual cues is a skill every home baker should have in their toolkit.

1. The Golden-Brown Top: A Picture-Perfect Crust
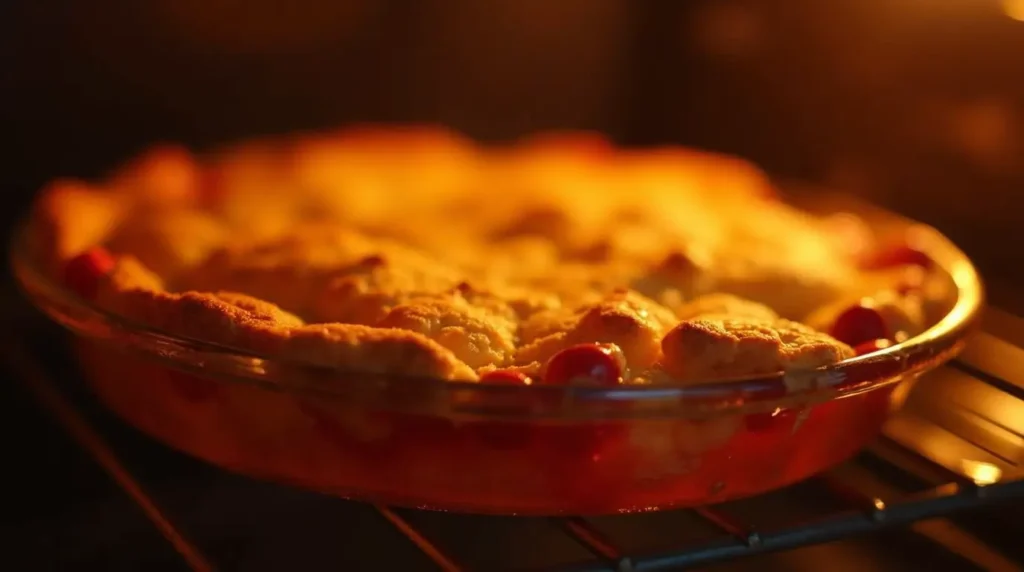
One of the most telltale signs your cobbler is done is the appearance of the crust. Cobblers typically have a biscuit or pastry topping, and this layer should achieve a beautiful golden-brown hue. Look for an even color across the surface this indicates that the heat has reached the right level for proper cooking.
For fruit-based cobblers, the edges often brown slightly faster than the center. If the center of your topping still looks pale or doughy, give it a few more minutes in the oven. Avoid opening the oven door too often, as this can cause temperature fluctuations that might slow the baking process.
2. The Bubbling Filling: A Sign of Juicy Goodness
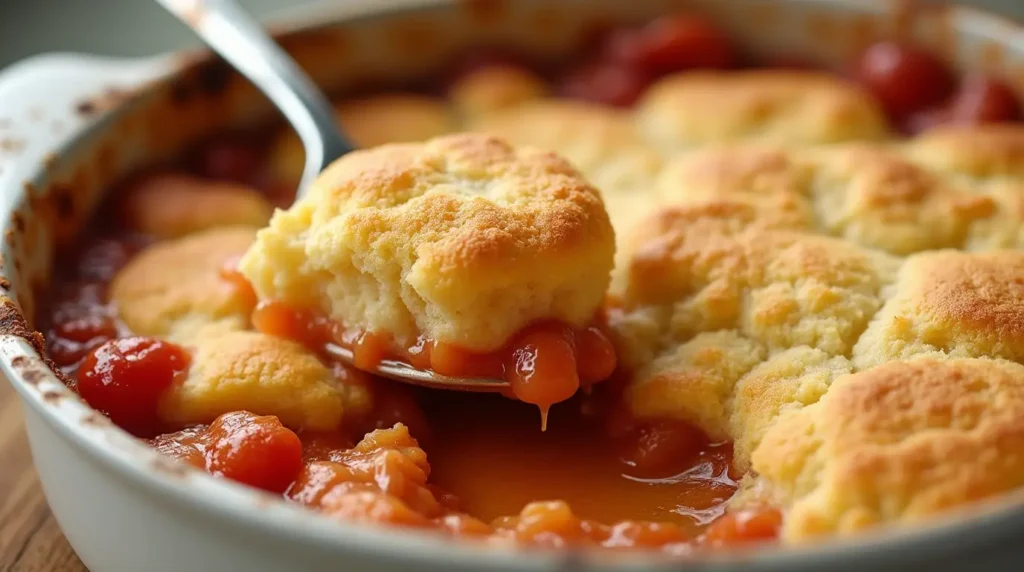
Your cobbler’s filling is another excellent indicator of doneness. For most recipes, the fruit should be bubbling up around the edges and possibly in the middle. Bubbling indicates that the fruit juices have thickened and the sugar has caramelized, creating that luscious, syrupy base cobblers are known for.
Be patient if you pull the cobbler out before it bubbles, you might end up with a filling that’s too thin or undercooked fruit. If the bubbling is vigorous but the topping isn’t quite golden, try tenting the cobbler with aluminum foil to allow the filling to finish without burning the crust.
3. Texture Transformation: From Doughy to Fluffy
When you first place your cobbler in the oven, the topping is typically soft, wet, or dough-like. As it bakes, the texture will transform. A properly baked cobbler will have a light, fluffy, and slightly firm crust that springs back when gently pressed with a finger or fork.
If you notice areas of the topping that are still dense or wet after the recommended baking time, it’s a sign that your cobbler needs more time in the oven. Check your oven temperature to ensure it’s accurate—ovens that run cool may require a longer bake.
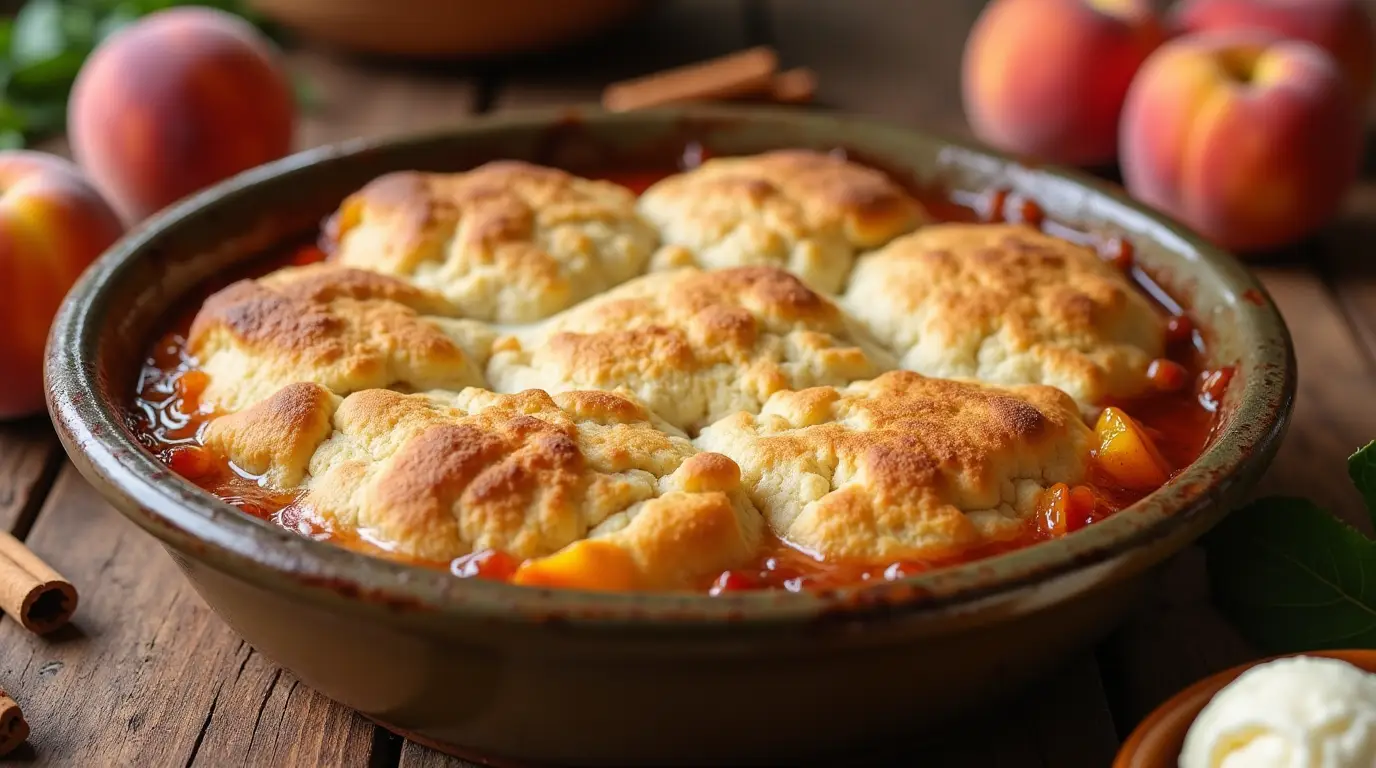
A Delicious Example: Easy Peach Cobbler Recipe
Here’s a simple peach cobbler recipe to try while honing your skills in spotting visual cues. This recipe focuses on classic flavors and easy techniques for perfect results every time.
Ingredients:
- 6 fresh peaches (or 4 cups sliced canned peaches, drained)
- 1 cup granulated sugar
- 1 cup all-purpose flour
- 1 teaspoon baking powder
- ½ teaspoon salt
- 1 cup milk
- ½ cup melted butter
- 1 teaspoon vanilla extract
- Optional: 1 teaspoon cinnamon or nutmeg for extra flavor
Instructions:
- Preheat your oven to 375°F (190°C).
- If using fresh peaches, peel and slice them. In a mixing bowl, toss the peaches with ¼ cup of the sugar and set aside.
- In a separate bowl, whisk together the flour, remaining sugar, baking powder, and salt.
- Add milk, melted butter, and vanilla extract to the dry ingredients, stirring until smooth.
- Pour the batter into a greased 9×13-inch baking dish.
- Evenly distribute the peaches on top of the batter. Sprinkle cinnamon or nutmeg if desired.
- Bake for 40-45 minutes or until the topping is golden brown and the fruit is bubbling.
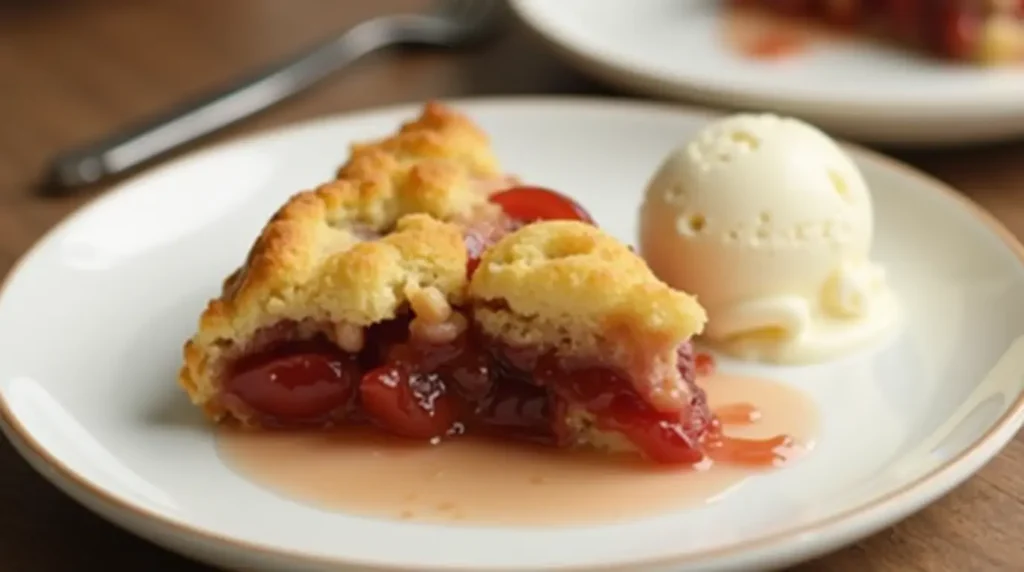
- Let cool slightly before serving with ice cream or whipped cream.
In this section, you’ve learned how to visually assess a cobbler’s doneness using the golden-brown top, bubbling filling, and texture changes as guides. Next, we’ll explore even more precise methods for ensuring your cobbler is perfectly cooked in “The Ultimate Cobbler Doneness Test: Texture and Temperature Tips.”
The Ultimate Cobbler Doneness Test: Texture and Temperature Tips
To perfect your cobbler, rely on more than just visual cues. Testing texture and measuring temperature will help you bake with precision and confidence. These methods ensure consistently flawless results that your guests will love.

1. Texture Test: Achieving Light and Golden Perfection
The texture of the cobbler topping significantly impacts its appeal. A well-baked topping feels light, fluffy, and slightly firm. Follow these steps to confidently test the texture:
- Spring-Back Test: Gently press the top of the cobbler with your finger or a fork. A properly baked topping springs back without leaving an indent. If it feels wet or doughy, leave it in the oven for a few more minutes.
- Crispness Check: Check for a light crunch, especially around the edges, where sugar-sprinkled toppings tend to caramelize.
Don’t overlook the bottom of the topping. For biscuit or dumpling-style crusts, ensure the underside feels set and does not stick to the skewer or fork during testing.
2. Temperature Test: Ensuring Precision Every Time
Using a food thermometer provides an accurate way to determine if your cobbler is done. Measuring the internal temperature ensures the topping and filling cook evenly.
- Ideal Temperature Range: Ensure the thermometer reads between 200–210°F (93–99°C). This range confirms the topping has baked through, and the filling has thickened.
- Proper Testing Technique: Insert the thermometer into the cobbler’s center, making sure it penetrates the topping and filling. Avoid letting it touch the dish’s bottom, as that could skew the reading.
By checking the temperature, you eliminate any doubts about undercooked or doughy cobblers.
3. Timing Is Key: Avoid Overbaking
Proper timing prevents overbaking, which can dry out the topping and overly caramelize the fruit filling. Use these tips to strike the perfect balance:
- Monitor the Edges: Look for golden-brown edges that pull slightly away from the dish. This visual cue indicates the topping is ready.
- Check the Center: Keep an eye on the center, which often finishes cooking last, especially during the final 10 minutes.
Combining these checks with a timer will help you bake a cobbler with a perfectly cooked topping and thickened filling.
Pro Tip: Customize Doneness to Your Preference
Everyone has their own preference for cobbler texture. You can tailor the baking process to suit your tastes:
- For Softer Toppings: Remove the cobbler from the oven when the temperature reaches closer to 200°F (93°C). This creates a tender and moist texture.
- For Crispier Toppings: Allow the cobbler to bake a bit longer until the internal temperature reaches 210°F (99°C).
By using texture checks and precise temperature readings, you’ll consistently bake cobblers that delight everyone at the table. Next, we’ll tackle “Common Mistakes When Checking If Cobbler Is Done (And How to Avoid Them)” to ensure your cobbler-making process is foolproof.
Common Mistakes When Checking If Cobbler Is Done (And How to Avoid Them)
Even the most experienced bakers encounter challenges when it comes to determining if their cobbler is done. Avoiding common pitfalls can save you time, effort, and the disappointment of an undercooked or overbaked dessert. Let’s explore the most frequent mistakes and how to avoid them.

1. Mistaking Color for Completion
One of the most common errors is relying solely on the color of the topping to determine doneness. While a golden-brown crust is an excellent visual cue, it doesn’t always guarantee the cobbler is fully cooked.
- The Mistake: Removing the cobbler from the oven as soon as the topping looks golden may result in an undercooked interior.
- The Fix: Combine visual cues with a texture test or temperature check. Always confirm the topping is fully set and springs back when touched lightly.
2. Ignoring the Fruit Filling’s Behavior
Another frequent mistake is neglecting the filling’s bubbling action, which is crucial for determining doneness. The fruit must reach a high enough temperature to release its juices, caramelize the sugar, and thicken properly.
- The Mistake: Assuming the cobbler is ready before the filling begins to bubble.
- The Fix: Wait for the fruit filling to bubble at the edges and ideally in the center of the cobbler. This indicates the filling has reached the right consistency and temperature.
3. Skipping the Temperature Test
Relying only on appearance can lead to inconsistent results, especially for beginners. Skipping the temperature test can result in a cobbler that looks done on the outside but remains undercooked inside.
- The Mistake: Trusting visual cues alone, especially with a thick or dense topping.
- The Fix: Use a food thermometer to check the cobbler’s internal temperature. Aim for 200–210°F (93–99°C) for perfectly cooked results.
4. Overbaking the Cobbler
Overbaking can lead to a dry, hard topping and a filling that’s too sticky or overly caramelized.
- The Mistake: Leaving the cobbler in the oven too long, often because of uncertainty about doneness.
- The Fix: Stick to the recommended baking time, and check for doneness in the final 10 minutes. Tent the cobbler with aluminum foil if the topping browns too quickly while the filling finishes cooking.
5. Opening the Oven Too Often
Constantly opening the oven door to check the cobbler can disrupt the baking process, causing temperature fluctuations that slow down cooking or unevenly bake the topping.
- The Mistake: Peeking too often, leading to an inconsistent bake.
- The Fix: Rely on the oven light to observe visual cues and perform doneness tests only toward the end of the baking time.
6. Misjudging Timing Based on Pan Size
The size and depth of the baking dish can significantly affect cooking time. A thicker cobbler may need more time, while a shallower one might cook faster.
- The Mistake: Using the same baking time regardless of the dish size or thickness of the cobbler.
- The Fix: Adjust baking time based on the size and depth of your dish. Thicker cobblers benefit from a slightly extended bake, while shallow ones should be checked earlier.
7. Overcomplicating the Recipe
Sometimes, adding too many elements to the cobbler like an extra-thick topping or multiple layers can make it harder to judge doneness.
- The Mistake: Using a complex recipe that leads to uneven baking.
- The Fix: Start with a simple cobbler recipe to master the basics before experimenting with variations.
Pro Tip: Trust Your Senses
Your senses sight, smell, and touch are invaluable tools when baking. If the cobbler smells fragrant, the crust looks golden, the filling bubbles, and the texture feels right, it’s likely ready to serve.
By steering clear of these common mistakes and applying the fixes, you’ll develop a sixth sense for knowing when your cobbler is perfectly baked.
Conclusion
Baking the perfect cobbler doesn’t have to be a guessing game. By mastering the visual clues, performing texture and temperature checks, and avoiding common mistakes, you’ll gain the confidence to bake a cobbler that’s golden, bubbly, and irresistible every time. Whether you’re a seasoned home baker or just starting your baking journey, understanding how to check if cobbler is cooked will transform your dessert-making skills.
So, preheat that oven, grab your favorite fruits, and get baking! With these tips and techniques, you’ll soon be serving cobblers that are not only perfectly done but also the star of every table. Happy baking! 😊
FAQs: How to Tell if Cobbler Is Done
Identifying Doneness
1. What are the key signs that a cobbler is done?
To determine if your cobbler is ready, look for a golden-brown topping and bubbling fruit filling around the edges and center. Additionally, when you press the topping gently, it should feel firm yet springy. For more accuracy, use a thermometer to confirm that the internal temperature has reached between 200–210°F (93–99°C).
2. Can I test cobbler doneness without a thermometer?
Yes, you can! Instead of relying on a thermometer, you can check for visual cues such as a golden-brown crust and bubbling filling. Moreover, pressing the topping lightly can help ensure it is firm and not doughy.
Common Baking Issues
3. What happens if I underbake my cobbler?
If you underbake your cobbler, the topping will remain soggy or doughy, and the fruit filling may turn out too thin or taste undercooked. Therefore, it is essential to bake until the filling is bubbling and the topping has fully set.
4. How can I avoid overbaking my cobbler?
To prevent overbaking, stick to the recommended baking time and closely monitor the cobbler during the final 10 minutes. Additionally, if you notice the topping browning too quickly, simply cover it loosely with aluminum foil to avoid burning.
Factors That Influence Baking Time
5. Does the size of the baking dish affect the cobbler’s baking time?
Yes, it does. For instance, thicker cobblers baked in deeper dishes will require more time, whereas shallow cobblers tend to cook faster. Therefore, adjust your baking time accordingly, and always use visual or temperature cues to ensure perfect results.
Preparing and Serving Cobbler
6. Can I bake cobbler ahead of time?
Of course! Baking cobbler ahead of time is convenient, especially for gatherings. When you are ready to serve, reheat it in a 350°F (175°C) oven for about 10–15 minutes to refresh its texture and warmth.
7. Should cobbler be served hot or cold?
You can serve cobbler either hot or cold. Traditionally, it is served warm with a scoop of ice cream or whipped cream; however, it remains equally delicious when cooled.
Perfecting the Filling
8. How do I know if the filling has thickened properly?
To ensure the filling has thickened, look for vigorous bubbling, which indicates that the juices have caramelized and achieved the right consistency. Conversely, if the filling is not bubbling, it may still be too runny and need more time to cook.
Storing and Using Frozen Ingredients
9. What’s the best way to store leftover cobbler?
For storing leftovers, place the cobbler in an airtight container and refrigerate it for up to three days. When reheating, use either the microwave or the oven to preserve its flavor and texture.
10. Can I make cobbler with frozen fruit?
Yes, you absolutely can! However, make sure to thaw and drain the frozen fruit thoroughly beforehand. Otherwise, excess liquid could result in a watery consistency and affect the baking time.
Did You Like The Article And Recipe?
There are no reviews yet. Be the first one to write one.

