There’s something magical about a perfectly crafted pavlova. Its delicate meringue shell, soft marshmallow-like center, and vibrant toppings create a dessert that’s equal parts stunning and satisfying. For home baking enthusiasts, mastering pavlova’s perfect crunch is both a challenge and a joy. Whether you’re preparing a treat for a family gathering, a holiday celebration, or simply to impress your friends, pavlova is a showstopper worth perfecting.
This guide will walk you through everything you need to know, from understanding the science behind pavlova’s signature texture to assembling it like a pro and troubleshooting common pitfalls. By the time you finish reading, you’ll have the knowledge and confidence to create a pavlova that’s as beautiful as it is delicious. Let’s get started on your pavlova journey!
Table of Contents
Crafting Pavlova’s Signature Crunch: Understanding the Science Behind the Perfect Meringue
When it comes to mastering pavlova’s perfect crunch, understanding the science behind its creation is key. A pavlova is more than just a dessert; it’s a delicate balance of chemistry and technique, resulting in that signature crispy shell and soft, marshmallow-like center. For home baking enthusiasts, unlocking the secrets of pavlova’s meringue is an exciting journey filled with insights and rewarding results.

The Foundation of Pavlova’s Meringue
At the heart of every pavlova is a meringue a mixture of egg whites and sugar that’s whipped into a glossy, stable foam. The magic lies in the interaction between the proteins in the egg whites and the sugar molecules. As you whip the egg whites, air is incorporated, and the proteins unfold to create a network that traps the air. This network is what gives pavlova its structure.
Adding sugar not only sweetens the mixture but also stabilizes the foam by dissolving into the liquid part of the meringue, creating a glossy sheen and ensuring the pavlova holds its shape during baking.
Key Ingredients for Success
- Egg Whites: Fresh, room-temperature egg whites are essential for creating maximum volume. Avoid even the tiniest trace of yolk, as fat can inhibit the whipping process.
- Sugar: Caster sugar is ideal for pavlova’s meringue due to its fine texture, which dissolves more readily. Gradually adding sugar while whipping is crucial for achieving that velvety consistency.
- Acid: A small amount of vinegar, lemon juice, or cream of tartar helps stabilize the egg whites by lowering their pH, making the meringue more resilient.
- Cornstarch: Often used in pavlova recipes, cornstarch helps create that signature marshmallowy center by preventing the meringue from becoming too dry.
The Role of Whipping
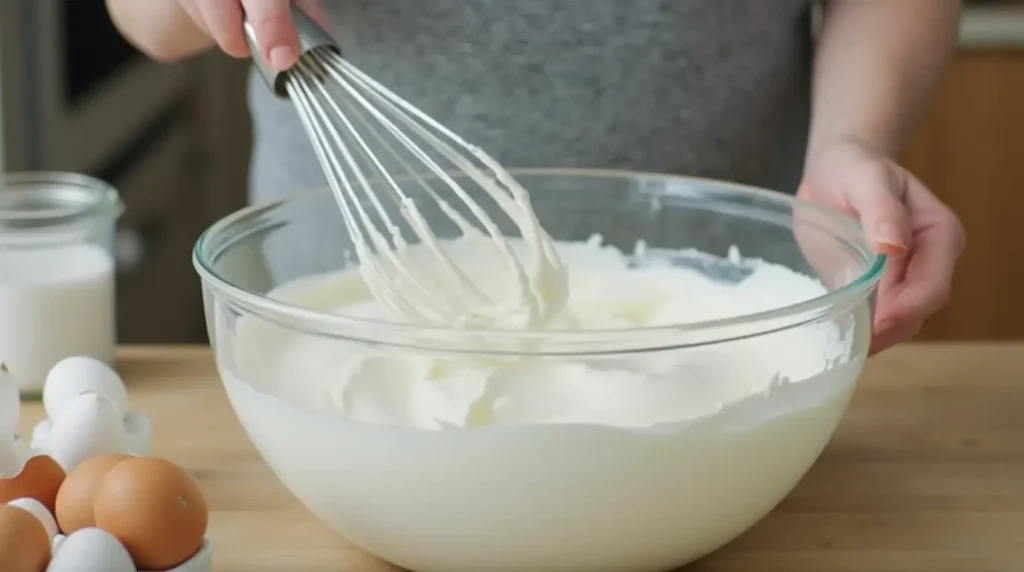
Whipping the egg whites is where the magic happens, but over- or under-whipping can spell disaster. The goal is to achieve stiff peaks, where the meringue holds its shape without being grainy or over-aerated. Over-whipping can cause the proteins to break down, resulting in a weepy or collapsed pavlova, while under-whipping may not provide enough structure for the pavlova to hold its form.
Baking for Crunch and Texture
The hallmark of a perfect pavlova is its contrast in textures: a crispy, melt-in-your-mouth outer shell and a soft, chewy interior. Achieving this requires careful control of baking time and temperature. A low, slow bake (typically at 250–300°F or 120–150°C) dries out the exterior without overcooking the interior.
The meringue should be baked until it feels firm and dry to the touch. After baking, letting the pavlova cool in the oven with the door slightly ajar ensures that the meringue cools gradually, preventing cracks caused by sudden temperature changes.
Pro Tips for Pavlova Perfection
- Clean Equipment: Ensure your bowl and whisk are impeccably clean and free of grease, as fat can prevent the egg whites from reaching their full volume.
- Slow Sugar Addition: Adding sugar too quickly can deflate the meringue. Add it one tablespoon at a time while whipping at medium speed.
- Test for Sugar Dissolution: Rub a small amount of meringue between your fingers. If it feels gritty, continue whipping until the sugar has dissolved.
The Ultimate Pavlova Recipe
Here’s a tried-and-true pavlova recipe to put your newfound knowledge into practice:
Ingredients:
- 4 large egg whites, room temperature
- 1 cup (200g) caster sugar
- 1 teaspoon white vinegar
- 1 teaspoon cornstarch
- 1/2 teaspoon vanilla extract
Instructions:
- Preheat the oven to 250°F (120°C) and line a baking tray with parchment paper.
- In a clean, dry bowl, beat the egg whites until soft peaks form.
- Gradually add the sugar, one tablespoon at a time, beating until stiff, glossy peaks form and the sugar has dissolved.
- Gently fold in the vinegar, cornstarch, and vanilla extract.
- Spoon the meringue onto the prepared tray, shaping it into a circle with a slight dip in the center for toppings.
- Bake for 1 hour, then turn off the oven and allow the pavlova to cool completely inside with the door slightly ajar.
- Once cooled, top with whipped cream and fresh fruit, and enjoy!
Understanding these scientific principles is the first step toward creating pavlova’s perfect crunch. With the right ingredients, techniques, and patience, you’ll achieve a dessert that’s as stunning as it is delicious. Ready to assemble your masterpiece? Let’s dive into the next step!
Step-by-Step Guide to Assembling Pavlova’s Ideal Texture and Flavor
Now that you’ve mastered the science behind pavlova’s meringue, it’s time to bring it all together into a show-stopping dessert. Creating a pavlova isn’t just about the baking process; it’s about assembling layers of flavor and texture to craft a dessert that’s as visually stunning as it is delicious. This step-by-step guide will walk you through assembling pavlova’s crispy shell, fluffy center, and delectable toppings.

Step 1: Shaping and Baking the Meringue Base
Once your meringue is whipped to stiff, glossy peaks, it’s time to shape the foundation of your pavlova. This step determines the final texture and aesthetic of your dessert.
- Prepare the Baking Surface: Line a baking sheet with parchment paper. For a neat shape, draw a circle using a plate or cake pan as a guide and flip the parchment over.
- Spoon and Shape: Spoon the meringue onto the parchment, staying within the circle. Use the back of a spoon to create swirls along the edges and a slight dip in the center to hold toppings later.
- Bake Low and Slow: Bake the pavlova at 250°F (120°C) for about an hour. Avoid opening the oven door during baking to maintain a consistent temperature. Once done, turn off the oven and allow the pavlova to cool completely inside to prevent cracking.
Step 2: Preparing the Whipped Cream Filling
The rich, pillowy whipped cream filling contrasts beautifully with pavlova’s crisp shell. It adds moisture, creaminess, and a hint of sweetness to balance the meringue.
- Choose the Right Cream: Use heavy cream with at least 36% fat content for the best results.
- Whip to Soft Peaks: Beat the cream with a whisk or electric mixer until soft peaks form. Avoid over-whipping, which can make the cream grainy.
- Add Flavor (Optional): Enhance the whipped cream with a touch of vanilla extract or a tablespoon of powdered sugar for sweetness.
Step 3: Selecting and Preparing Toppings
The toppings are where your creativity shines. Traditional pavlovas are often adorned with fresh fruit, but there are countless ways to elevate your dessert.
- Fresh Fruit: Use fruits with a balance of sweet and tart flavors, like strawberries, kiwis, passion fruit, and berries. Slice larger fruits into bite-sized pieces for easy serving.
- Sauces: Drizzle fruit coulis, chocolate ganache, or caramel sauce for added decadence.
- Nuts and Extras: Sprinkle crushed pistachios, toasted coconut flakes, or edible flowers for texture and visual appeal.
Step 4: Assembling the Pavlova
Assembling the pavlova is the final step, and timing is crucial. Assemble just before serving to preserve the crunch of the meringue.
- Start with the Base: Place the cooled meringue on your serving platter. If the base is uneven, gently shave the bottom with a knife for stability.
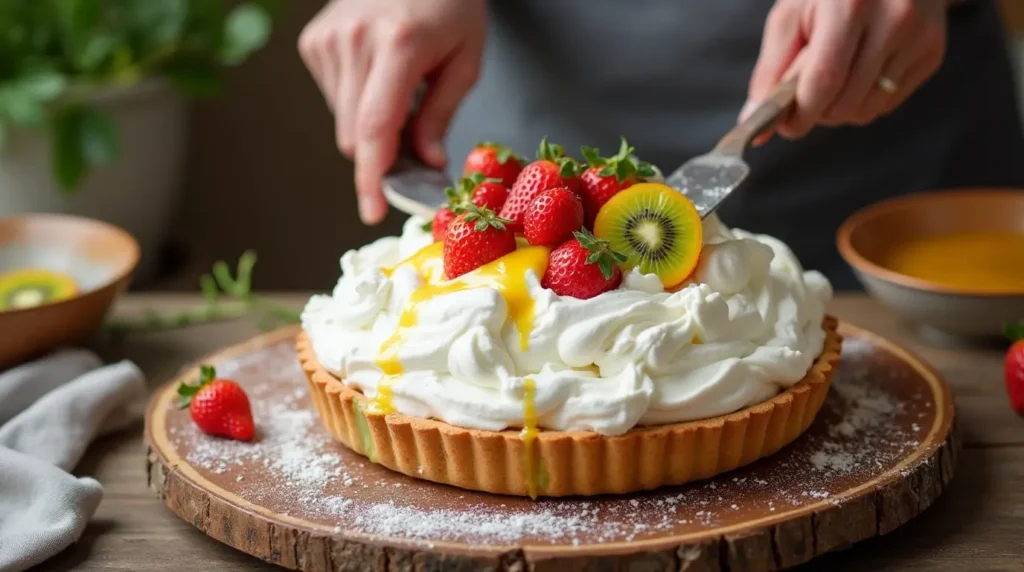
- Add the Cream: Spread the whipped cream over the meringue, keeping the layer even but leaving a slight border around the edges to prevent overflow.
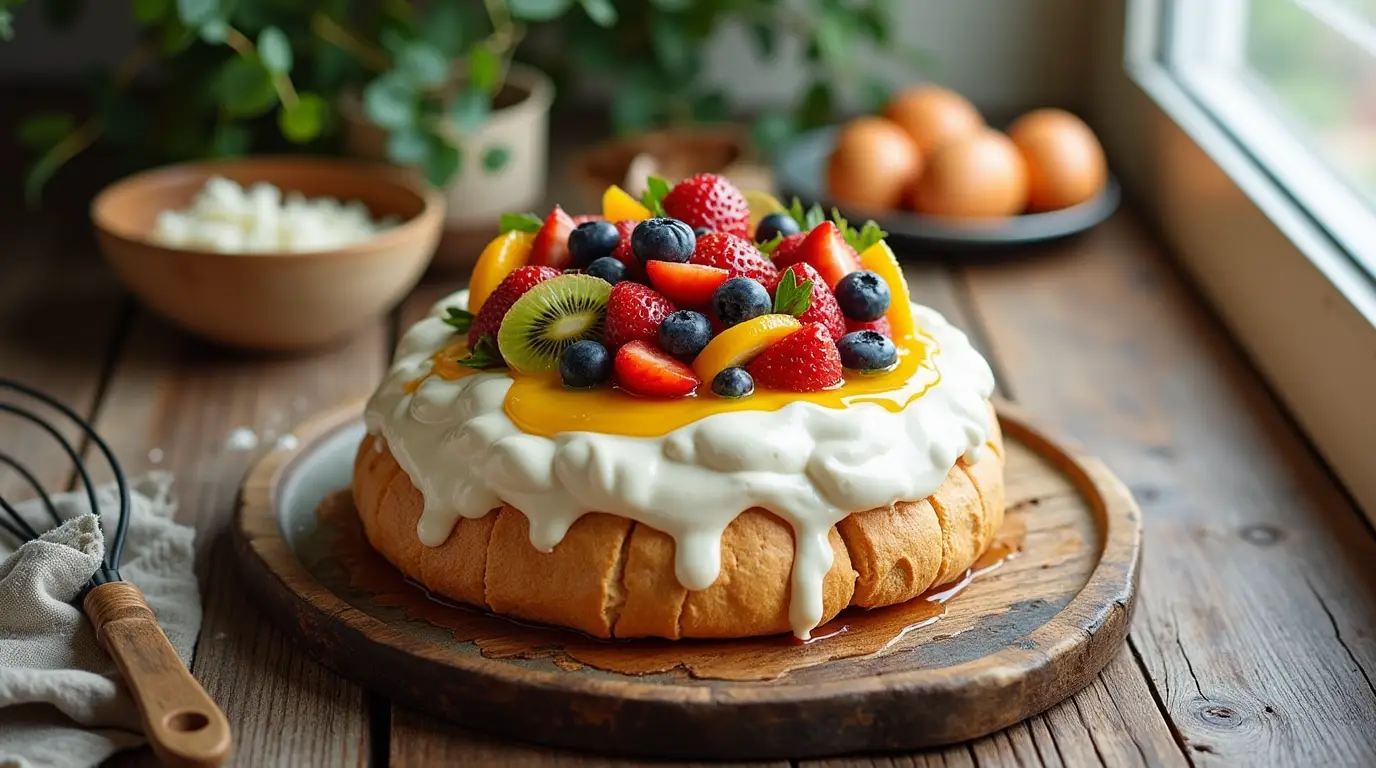
- Layer the Toppings: Arrange your fruits and other toppings artfully. Start with larger fruits, followed by smaller ones, and finish with drizzles or sprinkles for a polished look.
Step 5: Presenting and Serving
Presentation matters just as much as flavor when it comes to pavlova. Use these tips to make your dessert stand out:
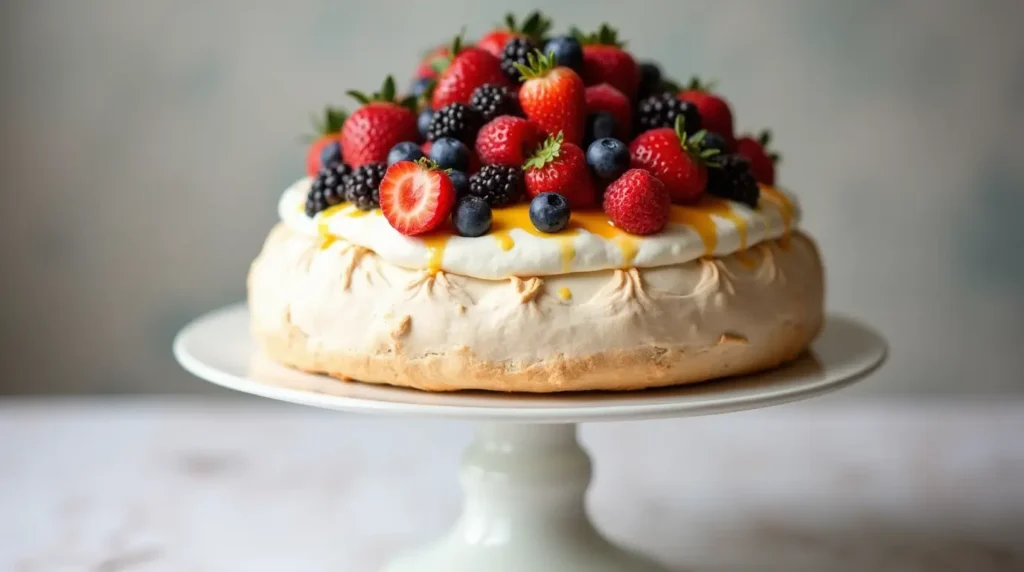
- Use a Cake Stand: Elevating the pavlova adds elegance and creates a centerpiece for your table.
- Keep It Fresh: Serve immediately after assembling to prevent the meringue from softening.
- Slice with Care: Use a sharp, serrated knife to gently cut the pavlova without crushing the delicate layers.
Flavor Variations to Try
While the classic pavlova with whipped cream and fresh fruit is a crowd-pleaser, consider these variations to add excitement:
- Chocolate Pavlova: Add cocoa powder to the meringue and top with chocolate shavings.
- Tropical Pavlova: Use mango, pineapple, and passion fruit for a taste of the tropics.
- Seasonal Pavlova: Incorporate seasonal fruits like figs in autumn or pomegranate in winter.
Assembling pavlova’s ideal texture and flavor is an art that allows you to express your creativity while delighting your taste buds. With a crisp base, luscious cream, and vibrant toppings, your pavlova will be the talk of any gathering. Next, we’ll troubleshoot common challenges to ensure your pavlova is flawless every time!
Troubleshooting Pavlova’s Common Pitfalls: Turning Baking Blunders into Success
Even the most experienced bakers encounter challenges when making pavlova. While it’s a relatively simple dessert, it requires precision and care to achieve the perfect balance of crunch, softness, and stability. Understanding common issues and how to resolve them ensures that your pavlova is always a success, even when things don’t go as planned.
Issue 1: Pavlova Collapses or Cracks
Nothing is more frustrating than a pavlova that collapses or cracks after all your hard work. This issue often stems from temperature fluctuations or an unstable meringue structure.
- Cause: Overbeating the egg whites, under-beating the meringue, or baking at too high a temperature can compromise the structure. Additionally, sudden changes in temperature (like opening the oven door) can lead to cracks.
- Solution: Whip the meringue to stiff peaks without overdoing it stop when the meringue holds its shape but is still glossy. Bake at a low, steady temperature and let the pavlova cool in the oven with the door slightly ajar to avoid thermal shock.
Issue 2: Weeping or Sticky Meringue
A sticky or weepy pavlova can ruin the dessert’s delicate texture. This issue often arises from improper sugar incorporation or environmental factors.
- Cause: Sugar not fully dissolved in the meringue or high humidity can cause the pavlova to absorb moisture and become sticky.
- Solution: Add sugar gradually while whipping, ensuring it dissolves completely. Rub a small amount of meringue between your fingers to check for grittiness if it feels smooth, the sugar is fully incorporated. On humid days, consider using a dehumidifier or baking the pavlova for longer at a low temperature.
Issue 3: Undercooked or Overcooked Pavlova
The balance between a crisp exterior and soft interior can be tricky to achieve, leading to pavlovas that are either too chewy or overly dry.
- Cause: Baking at the wrong temperature or not following the recipe’s time guidelines can lead to undercooked or overcooked results.
- Solution: Use an oven thermometer to ensure an accurate temperature. Stick to the recipe’s baking time, but remember that ovens vary, so you may need to adjust slightly. The pavlova should feel firm and dry to the touch when done.
Issue 4: Pavlova Sticks to the Parchment Paper
Removing the pavlova from the baking sheet can sometimes be a challenge if it sticks to the parchment paper.
- Cause: Insufficient baking or moisture from the meringue can cause it to adhere to the parchment.
- Solution: Lightly grease the parchment paper before adding the meringue to create a non-stick surface. Allow the pavlova to cool completely before attempting to lift it.
Issue 5: Pavlova Tastes Grainy
Graininess in pavlova’s texture can detract from its melt-in-your-mouth appeal.
- Cause: Sugar that hasn’t dissolved completely during the whipping process.
- Solution: Use caster sugar, which dissolves more easily than granulated sugar. Add it slowly, one tablespoon at a time, while whipping on medium speed.
Pro Tips for Preventing Pavlova Problems
- Invest in Quality Tools: Use a clean, grease-free mixing bowl and a reliable stand or hand mixer for consistent results.
- Practice Patience: Don’t rush the whipping, baking, or cooling processes—each step is crucial to pavlova’s success.
- Experiment and Learn: If something goes wrong, don’t be discouraged. Troubleshooting is part of becoming a pavlova pro!
What to Do with Less-Than-Perfect Pavlovas
Even if your pavlova isn’t picture-perfect, it’s still delicious! Here are some creative ways to repurpose imperfect pavlovas:
- Make a Trifle: Layer broken pieces with whipped cream, fruit, and sauces in a glass dish for a stunning dessert.
- Create Pavlova Bites: Break the meringue into small chunks and serve as mini pavlova bites with toppings.
- Crumble for Toppings: Use crumbled pavlova as a topping for ice cream, yogurt, or other desserts.
Pavlova is a dessert that rewards attention to detail and persistence. By understanding and addressing common pitfalls, you’ll gain confidence in creating this elegant treat. With every bake, you’ll come closer to mastering pavlova’s perfect crunch. Ready to put these lessons to the test? Let’s pull all the elements together for your next pavlova masterpiece!
Creating the perfect pavlova is more than just following a recipe it’s about embracing the artistry and science of baking. With a crispy shell, a soft and marshmallowy interior, and vibrant toppings, pavlova is a dessert that never fails to impress. By understanding the techniques behind meringue-making, assembling layers of flavor and texture, and troubleshooting common issues, you’ll be equipped to craft a pavlova that dazzles every time.

Remember, baking is a journey, and each pavlova you make brings you closer to mastering this elegant dessert. So, grab your whisk, preheat your oven, and let your creativity shine. Your perfect pavlova awaits!
FAQs About Pavlova
1. Why does my pavlova crack during baking?
Cracking is usually caused by sudden temperature changes. To prevent this, let your pavlova cool gradually in the oven after baking, with the door slightly ajar.
2. Can I make pavlova in advance?
Yes! You can bake the meringue base a day or two ahead and store it in an airtight container at room temperature. Assemble it with whipped cream and toppings just before serving.
3. What should I do if my pavlova is sticky?
Sticky pavlova is often caused by undissolved sugar or high humidity. Ensure sugar is fully incorporated into the meringue and consider baking on a dry day.
4. Can I make pavlova without cornstarch or vinegar?
Cornstarch and vinegar help stabilize the meringue and create the marshmallowy center, but they can be omitted for a drier texture. Be cautious, as this may alter the classic pavlova texture.
5. What toppings work best for pavlova?
Fresh fruits like berries, kiwis, and passionfruit are traditional favorites. You can also experiment with chocolate shavings, crushed nuts, caramel drizzle, or edible flowers for a unique twist.
6. How do I fix over-whipped meringue?
If your meringue becomes grainy from over-whipping, try adding an extra egg white and gently mixing it in until the texture becomes smoother.
7. Can I make a vegan pavlova?
Absolutely! Replace egg whites with aquafaba (the liquid from canned chickpeas) and follow a similar whipping and baking process. Vegan pavlovas can be just as delicious and impressive.
8. What should I do if my pavlova doesn’t rise?
A flat pavlova often results from under-whipping the egg whites or introducing fat (like yolk) into the mixture. Ensure your tools and ingredients are clean and your egg whites are whipped to stiff peaks.
Did You Like The Article And Recipe?
There are no reviews yet. Be the first one to write one.

