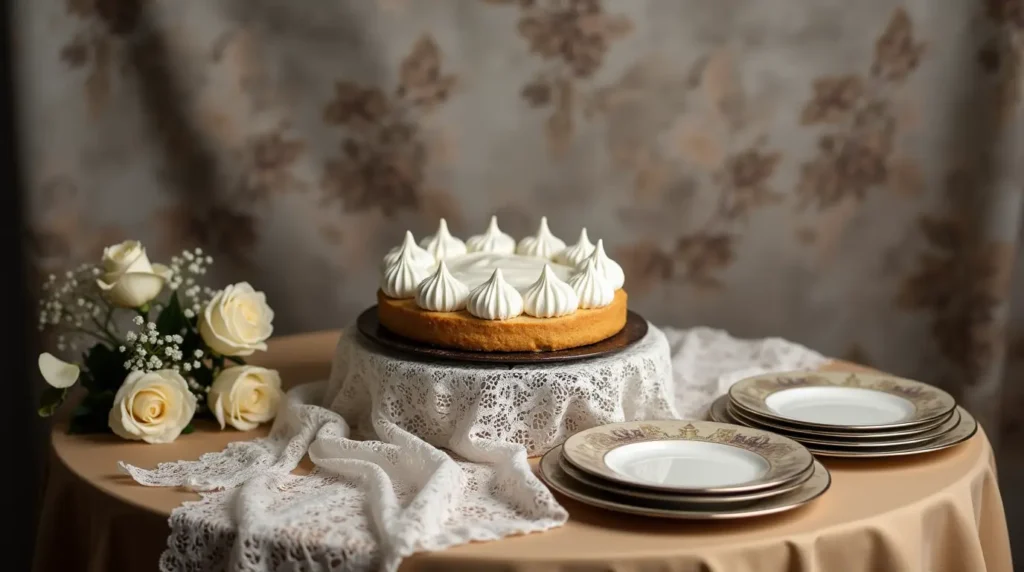
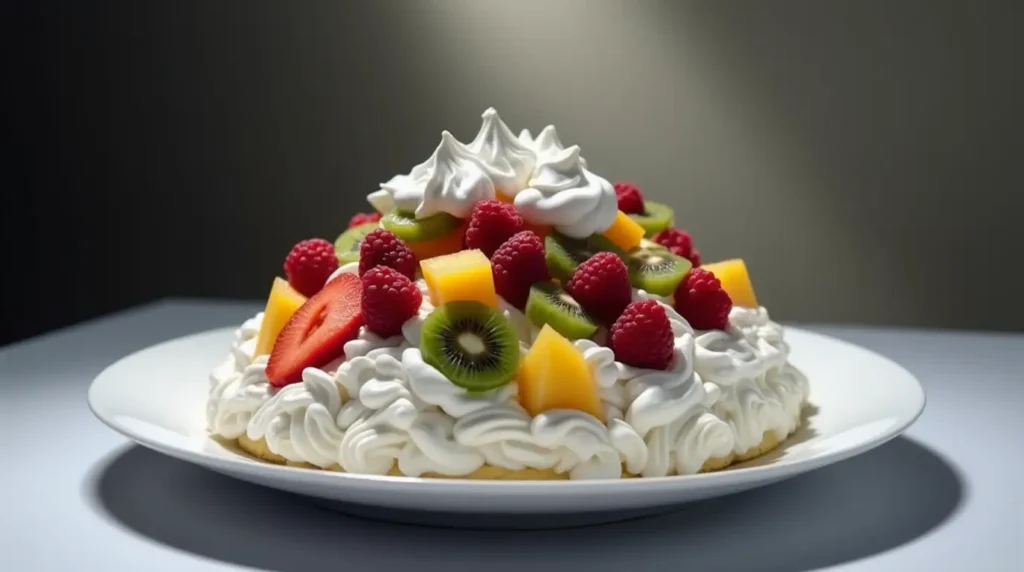
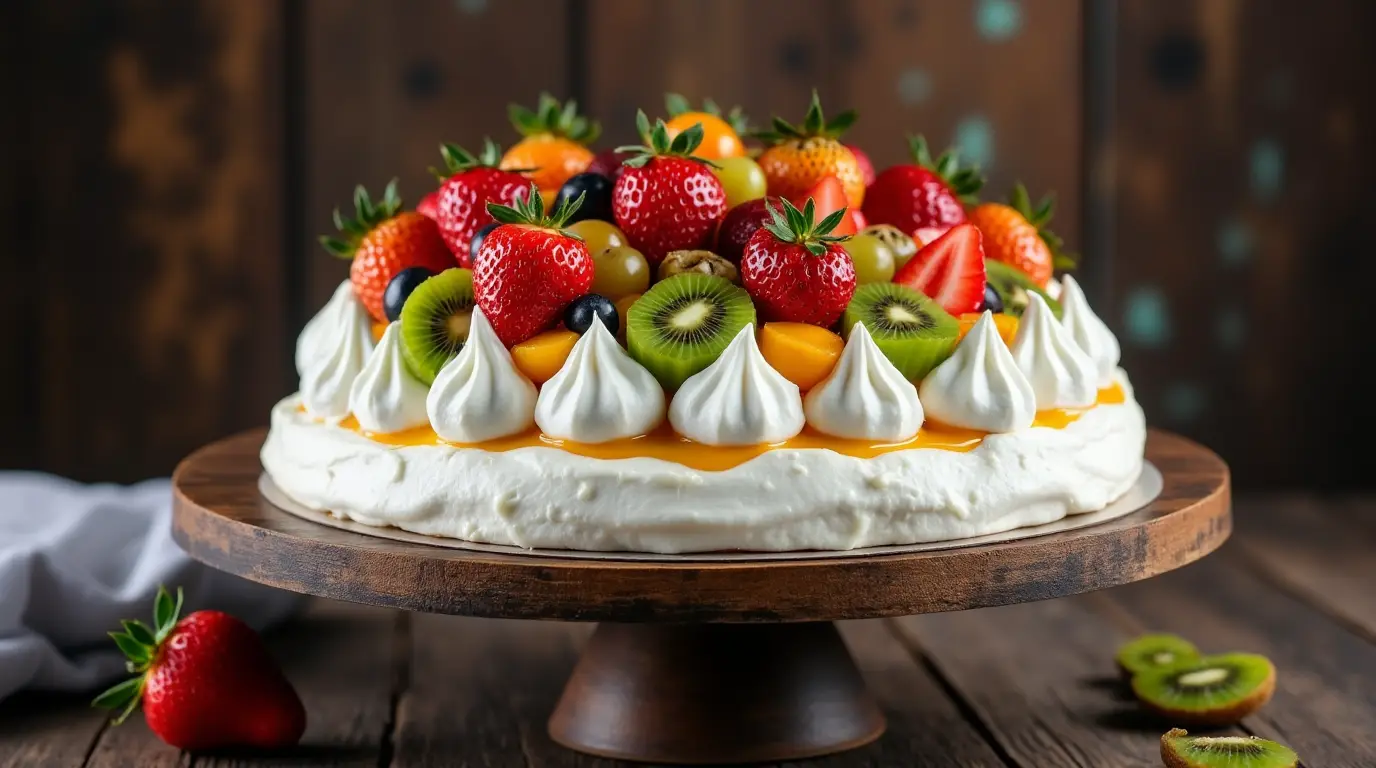
Pavlova, with its light meringue base, pillowy whipped cream, and vibrant fresh fruit, is a dessert that exudes elegance and charm. Named after the iconic Russian ballerina Anna Pavlova, this sweet creation is as graceful as its namesake. But what is a pavlova made of, and what makes it so beloved worldwide? This article takes you on a journey through the origins of pavlova, the key ingredients that define it, and the secrets to crafting the perfect dessert. Whether you’re a curious food enthusiast or a passionate home baker, understanding the art and science behind pavlova will inspire you to try your hand at this timeless classic.
Table of Contents

The Origins of Pavlova and What Makes It So Special
The pavlova is a dessert that transcends borders, cultures, and time, yet it remains deeply rooted in the rich culinary histories of both New Zealand and Australia. A masterpiece of lightness and sweetness, this elegant dessert consists of a meringue base topped with whipped cream and an array of fresh fruits. But beyond its delectable appeal lies a story steeped in history, cultural pride, and the passionate debate surrounding its origins.
A Dessert Born of Inspiration
The pavlova takes its name from Anna Pavlova, a world-famous Russian ballerina celebrated for her grace and elegance. While touring Australia and New Zealand in the 1920s, Pavlova’s ethereal performances left an indelible mark on audiences. Inspired by her artistry, chefs sought to create a dessert that mirrored her light, airy movements, giving birth to the dish we now know as pavlova.
However, the debate over its true origin remains a point of contention between New Zealand and Australia. New Zealand claims that its chef Herbert Sachse invented the pavlova in 1926 at the Hotel Esplanade in Wellington. Meanwhile, Australia counters with evidence suggesting its own culinary traditions were instrumental in the dessert’s creation. Despite the rivalry, the pavlova has become a beloved staple in both nations, symbolizing the sweetness of shared culinary heritage.
The Cultural Significance of Pavlova
The pavlova is more than just a dessert; it’s a cultural icon. Both Australians and New Zealanders have embraced it as a quintessential part of their national identity, often serving it during significant celebrations such as Christmas, weddings, and national holidays. Its versatility also makes it a canvas for creativity, with each family and chef putting their unique spin on the classic recipe.
For instance, Australians often top pavlova with tropical fruits like passion fruit and kiwi, reflecting their abundant access to such produce. Meanwhile, New Zealanders frequently use seasonal berries, highlighting their focus on locally sourced ingredients. This adaptability has helped pavlova remain relevant through decades of culinary evolution.
A Symbol of Elegance and Simplicity
Part of the pavlova’s enduring charm lies in its simplicity. Despite its sophisticated appearance, the dessert is made from only a handful of ingredients: egg whites, sugar, cream, and fruit. Each element serves a purpose, creating a balance of textures and flavors that is both indulgent and refreshing. Its crisp exterior, marshmallow-like interior, and creamy, fruity toppings form a harmonious symphony that appeals to dessert lovers worldwide.
As the pavlova continues to grace tables across the globe, its story reminds us of the power of food to connect people and celebrate artistry. Whether served as a nostalgic homage to its origins or reimagined with modern twists, the pavlova stands as a testament to culinary creativity and the enduring legacy of Anna Pavlova’s grace.
What Is a Pavlova Made Of? Breaking Down Its Key Ingredients
The magic of pavlova lies in its simplicity and the harmony of its carefully chosen ingredients. While it may seem delicate and intricate, pavlova is made from a handful of staple components, each contributing to its unique texture, flavor, and appeal. So, what is a pavlova made of? Let’s explore the building blocks of this beloved dessert.
The Meringue: A Pillowy Base with a Crisp Exterior
At the heart of every pavlova is its meringue base, a creation of pure artistry. This element requires just three key ingredients:
- Egg Whites: The foundation of the meringue, egg whites are whipped to form stiff peaks, giving the pavlova its airy structure. Fresh eggs at room temperature work best, as they whip more efficiently and create greater volume.
- Sugar: Granulated or superfine sugar is slowly incorporated into the whipped egg whites, stabilizing the structure while lending the meringue its signature sweetness. Sugar also caramelizes during baking, contributing to the crisp outer shell.
- Cornstarch and Acid (Optional): A small amount of cornstarch or acid (like white vinegar or lemon juice) is often added to the mixture to ensure the interior remains soft and marshmallow-like while preventing the meringue from becoming overly dry.
When baked, the meringue transforms into a base that is both crispy and fragile on the outside, with a tender, marshmallow-like texture inside. This contrast makes the pavlova a sensory delight.
Whipped Cream: The Silky Middle Layer
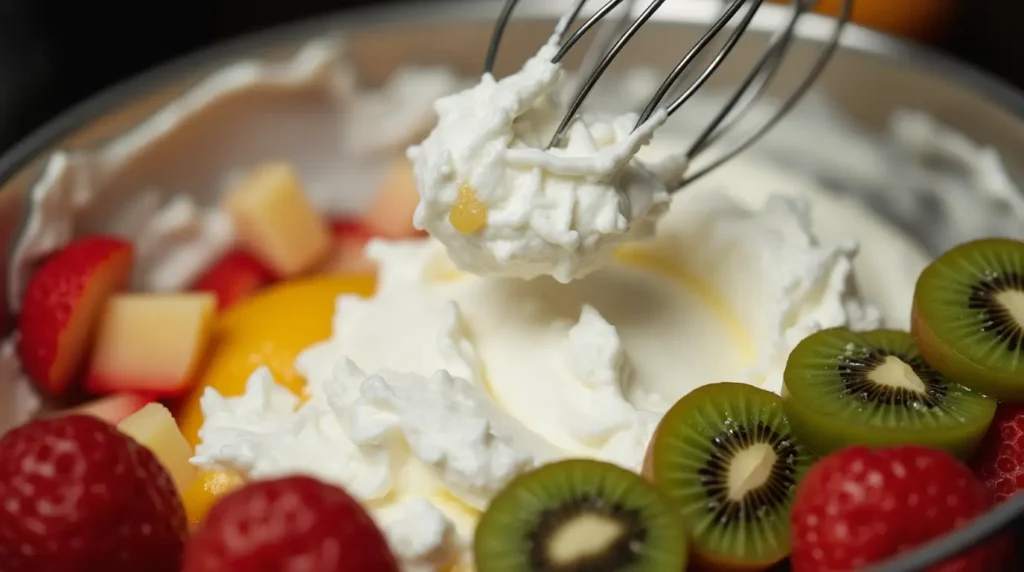
A generous layer of whipped cream sits atop the meringue, providing a smooth and creamy counterpart to the crispness of the base.
- Heavy Cream: The best choice for whipped cream is heavy cream with a high-fat content (around 35%), as it whips up beautifully and holds its shape.
- Sweeteners and Flavorings: Some variations include a touch of powdered sugar, vanilla extract, or other flavorings to enhance the cream’s sweetness and complement the toppings. However, restraint is key to maintain balance in the dessert.
The whipped cream not only adds a luxurious texture but also acts as a canvas for the colorful toppings that define the pavlova’s appearance.
Fresh Fruits: Vibrant Toppings That Bring Balance
The finishing touch on a pavlova is its array of fresh fruits. These toppings are not just for decoration; they introduce a refreshing contrast to the sweet meringue and creamy whipped layer.
- Tropical Fruits: Common choices include passion fruit, kiwi, and mango, which add a tangy brightness that cuts through the dessert’s richness.
- Berries: Strawberries, raspberries, and blueberries are popular for their vibrant colors and natural sweetness.
- Seasonal Options: Many bakers customize their pavlova based on local or seasonal fruits, allowing for endless creative possibilities.
The fruits also provide the dessert with a visual appeal that is hard to resist, making pavlova a show-stopper at any gathering.
The Subtle Role of Optional Ingredients
Some recipes include embellishments like grated chocolate, toasted nuts, or flavored syrups to add extra layers of complexity. While these are optional, they can elevate the pavlova to new heights and cater to personal preferences.
A Recipe for Classic Pavlova
Here’s a simple recipe to try at home:

Ingredients:
- 4 large egg whites (room temperature)
- 1 cup granulated sugar
- 1 tsp cornstarch
- 1 tsp white vinegar
- 1 cup heavy cream
- 2 tbsp powdered sugar (optional)
- Fresh fruits (strawberries, kiwi, passion fruit, etc.)
Instructions:
- Preheat the oven to 250°F (120°C). Line a baking sheet with parchment paper and draw a circle (about 8 inches) as a guide.
- In a clean, dry bowl, beat the egg whites until soft peaks form. Gradually add sugar, one tablespoon at a time, beating until the mixture is glossy and stiff peaks form.
- Gently fold in the cornstarch and vinegar. Spoon the mixture onto the parchment paper, spreading it to form a circular shape with slightly higher edges.
- Bake for 90 minutes, then turn off the oven and leave the meringue to cool completely inside.
- Whip the cream until soft peaks form, adding powdered sugar if desired. Spread the cream over the cooled meringue.
- Top with fresh fruits and serve immediately.
By understanding what a pavlova is made of, you can appreciate the artistry behind each element and experiment with variations to create your perfect version of this timeless dessert.
Creating Sweet Perfection: Tips for Making the Best Pavlova
Mastering the art of pavlova requires patience, precision, and a touch of creativity. While its simplicity is one of its greatest charms, small missteps can affect the final result. To help you create the perfect pavlova, here are some expert tips and techniques that address common challenges and elevate your dessert to new heights.
Nail the Meringue: Setting a Solid Foundation
The meringue is the heart of the pavlova, and getting it right is essential. Here’s how to ensure it’s flawless every time:
- Start with Clean Tools: Any grease or residue in your mixing bowl or on your whisk can prevent egg whites from whipping to their full potential. Use a clean, dry bowl (preferably metal or glass) and ensure all tools are spotless.
- Room Temperature Eggs: Egg whites whip more effectively when they’re at room temperature. If you’ve just taken eggs out of the fridge, let them sit for about 30 minutes before separating and beating.
- Incorporate Sugar Gradually: Add sugar one tablespoon at a time, beating well after each addition. This ensures the sugar dissolves completely, creating a smooth, glossy meringue. Test the mixture by rubbing a small amount between your fingers—if it feels gritty, keep beating.
- Shape with Care: When spreading the meringue onto your baking sheet, create a slight indentation in the center. This helps hold the whipped cream and toppings later, ensuring the layers stay balanced.
Perfect Your Baking Technique
Baking a pavlova can be tricky, as the meringue requires a slow and gentle approach to achieve the ideal texture.
- Low and Slow: Bake the meringue at a low temperature (around 250°F or 120°C) to prevent browning or cracking. A slow bake allows the exterior to crisp up while the interior remains soft and marshmallow-like.
- Cool in the Oven: After baking, turn off the oven and let the pavlova cool inside with the door slightly ajar. This gradual cooling process prevents the meringue from collapsing due to sudden temperature changes.
- Avoid Humidity: Humid conditions can make the meringue sticky and difficult to work with. On particularly damp days, consider using a dehumidifier or waiting for better weather to bake your pavlova.
Whip Cream Like a Pro
The whipped cream layer is crucial for balancing the sweetness of the meringue with creamy, light goodness.
- Chill Your Tools: For best results, chill your mixing bowl and whisk attachment before whipping the cream. Cold tools help stabilize the cream and make it whip faster.
- Avoid Overwhipping: Whip the cream to soft peaks for a smooth, luscious texture. Overwhipping can cause the cream to become grainy or separate.
Choose and Arrange Toppings Thoughtfully
The toppings you choose can transform a simple pavlova into a stunning centerpiece.
- Balance Sweetness and Tartness: Pair the sweetness of the meringue with tart fruits like passion fruit, raspberries, or kiwi. This contrast makes the dessert refreshing and satisfying.
- Add a Touch of Glamour: For special occasions, consider sprinkling the pavlova with edible flowers, grated chocolate, or a drizzle of caramel or fruit syrup.
- Top Right Before Serving: To keep the meringue crisp, add the whipped cream and toppings just before serving. This prevents the base from becoming soggy.
Common Mistakes and How to Avoid Them
Even experienced bakers encounter challenges when making pavlova. Here are some common pitfalls and solutions:
- Cracks in the Meringue: Small cracks are normal and add character, but excessive cracking can occur if the oven temperature is too high or the cooling process is rushed. Stick to low heat and cool the pavlova gradually.
- Weeping Meringue: If your pavlova leaks syrupy liquid, it may be due to underbeaten egg whites or sugar that hasn’t fully dissolved. Take your time to whip the mixture until smooth and glossy.
- Soggy Base: To avoid a soggy pavlova, keep the meringue stored in a cool, dry place until ready to assemble, and apply the cream and toppings only when it’s time to serve.
Experiment with Creative Variations
Once you’ve mastered the classic pavlova, you can experiment with flavors and presentation to make it your own:
- Chocolate Pavlova: Add cocoa powder to the meringue for a rich chocolate twist, and top with whipped cream and cherries for a black forest-inspired dessert.
- Mini Pavlovas: Make individual portions by dividing the meringue into smaller circles. These are perfect for dinner parties or special events.
- Layered Pavlova: Stack multiple pavlova bases with whipped cream and fruits in between for an impressive layered dessert.
By paying attention to these details and embracing creativity, you can create a pavlova that is not only delicious but also a feast for the eyes. Whether you’re making it for a family gathering, a special celebration, or simply to satisfy your sweet tooth, a well-crafted pavlova is sure to impress.
Conclusion

The pavlova is more than just a dessert; it’s a celebration of simplicity, artistry, and cultural heritage. From its humble origins tied to Anna Pavlova’s legendary performances to its widespread appeal across continents, the pavlova continues to captivate hearts with its light, airy texture and delightful balance of flavors. By understanding what a pavlova is made of and mastering the techniques to create it, you can bring this iconic dessert to life in your own kitchen. Whether you stick to the classic recipe or put your unique spin on it, a beautifully crafted pavlova is sure to be the centerpiece of any occasion, leaving everyone enchanted with its sweet perfection.
FAQs About Pavlova
1. What is a pavlova made of?
A pavlova is made of a meringue base crafted from egg whites and sugar, sometimes stabilized with cornstarch and vinegar. It is topped with whipped cream and an assortment of fresh fruits like berries, passion fruit, and kiwi. These simple ingredients come together to create a dessert that’s crispy on the outside, marshmallow-soft inside, and luxuriously creamy on top.
2. Where did pavlova originate?
Pavlova is widely debated to have originated in either New Zealand or Australia in honor of Russian ballerina Anna Pavlova during her 1920s tour. Both countries claim the dessert as their own, making it a source of cultural pride and a symbol of culinary creativity.
3. What’s the difference between a pavlova and a meringue?
While both pavlova and meringue share a base of whipped egg whites and sugar, pavlova is distinct because it includes cornstarch and an acid like vinegar. These additions create a crisp outer shell with a soft, marshmallow-like interior, unlike the uniformly crisp texture of traditional meringue.
4. What fruits are best for topping pavlova?
The best fruits for pavlova are those that add a balance of sweetness and tartness, such as strawberries, raspberries, blueberries, passion fruit, and kiwi. Seasonal or tropical fruits can also be used, depending on availability and personal preference.
5. How do I prevent a pavlova from cracking?
To prevent cracks, bake the pavlova at a low temperature and allow it to cool gradually in the oven with the door slightly ajar. Sudden changes in temperature can cause the meringue to crack, so patience is key during the cooling process.
6. Why is my pavlova sticky or weeping?
Stickiness or weeping occurs when the sugar in the meringue hasn’t fully dissolved, or when the dessert is exposed to high humidity. Ensure you beat the sugar into the egg whites thoroughly, and avoid making pavlova on damp days if possible.
7. Can pavlova be made ahead of time?
Yes, you can bake the meringue base a day or two in advance and store it in an airtight container at room temperature. Add the whipped cream and toppings just before serving to keep the pavlova fresh and crisp.
8. Can I make pavlova without eggs?
Yes, there are egg-free alternatives using aquafaba (the liquid from canned chickpeas) as a substitute for egg whites. This vegan version can mimic the light, airy texture of traditional meringue.
9. What occasions is pavlova typically served for?
Pavlova is a popular choice for celebrations such as Christmas, Easter, weddings, and summer gatherings. Its light, refreshing flavors make it a favorite for festive and special occasions.
10. How should pavlova be stored?
Store an unassembled pavlovabase in a cool, dry place in an airtight container for up to two days. Once assembled with cream and fruit, it’s best to consume it immediately, as the toppings can cause the base to become soggy over time.
Did You Like The Article And Recipe?
There are no reviews yet. Be the first one to write one.

